
AI design prompts: How to get better output
Get better output from your AI design prompts. Learn practical tips, examples, and mistakes to avoid, plus how Figma helps keep results consistent.
Skip to main content
Building with AI
A carefully worded AI video prompt can still return a clip that doesn’t match what you pictured. Getting a final AI output that looks right takes knowing which details to include, drawing on what’s worked before, and treating the first result as a draft. Prompt writing is a creative process that needs constant iteration and a human eye.
As Neta Kimhi, Marketing Manager for Figma Weave, puts it, “The biggest mistake is believing there’s a perfect prompt that will produce a production-ready asset in a single step. The teams that get the most value from AI stop chasing magic buttons and start thinking about systems.” Refining and testing prompts are the system-level skills creative teams are picking up as more campaigns run on generative AI.
Read on to learn:
You can create a strong AI video prompt in five layers, each one stacking on the last. A model reads your prompt in the order you write it, so what goes first often carries the most weight.
The best AI video prompts start with a subject, an action, and a setting in a single line. For instance, “a hand unboxing a skincare product on a wooden desk” for a wellness marketing campaign tells a model who’s doing what and where with no extra actions or scene details competing for attention.
If you skip these core details, the model doesn’t leave them blank. It often fills in the missing design context with its own assumptions, which rarely match what you had in mind. Drop “a wooden desk” from that same prompt, and the model might imagine a generic office desk or a blurred studio backdrop. Neither would be the natural look for a wellness brand.
Fewer blanks mean fewer chances for the model to invent a detail you never asked for.
Pro tip: Name specific materials, colors, or brand details when you can. An “amber glass skincare bottle” narrows the model’s options more than a “skincare product.”
Most AI video models generate clips between 5–10 seconds long, which isn’t enough time for more than one action to happen convincingly.
A prompt like “A person puts on a jacket, zips it up, and walks toward the camera” packs three separate actions into one line. The AI model might compress or skip parts of it to fit. “A person zipping up a jacket for two seconds” gives it one clear moment to render well.
Pro tip: If your idea needs more than one moment, that’s a sign to plan for multiple clips rather than packing more into a single prompt.
Tell the model what to aim for, like “smooth, stable camera movement.” Negative phrasing can backfire—naming what you don’t want still puts that word in front of the model and can confuse it.
For instance, a prompt asking for “no camera shake” risks drawing the model’s attention to shakiness. That’s because there’s little training data connecting “no shake” to steady footage, but plenty connecting the word “shake” itself to shaky footage. The model still leans toward it, even with “no” in front.
Text-to-video AI prompts need only your words, but many AI video models also accept a reference alongside your prompt to make this step easier.
This can be an existing file, a brand template, or a screenshot of the look you’re after. AI image-to-video prompts help most for details that are hard to put into words, such as a specific style or texture.
Pro tip: Found a reference image that works? Save it. You can use it across prompts to keep the look consistent in every clip in the same campaign.
Some AI video models generate audio in the same pass as the picture, syncing sound effects and dialogue to what’s on screen.
If you leave an audio cue out of your AI video generation prompt, what happens next depends on the model you’re using. Some fill in the details with a generic soundtrack, while others generate a silent clip.
Not every model generates audio at all. If yours doesn’t, you’ll need to add sound afterward in a separate editing pass with a different tool.
Pro tip: Check your model’s documentation before you write an audio cue into the prompt. A detailed sound description does nothing if the model doesn’t support audio generation.
When a result misses the mark, the prompt isn’t always the problem. Sometimes it’s the model. The same words can read differently from one model to the next, since each model was trained on separate data and weighs your phrasing in its own way.
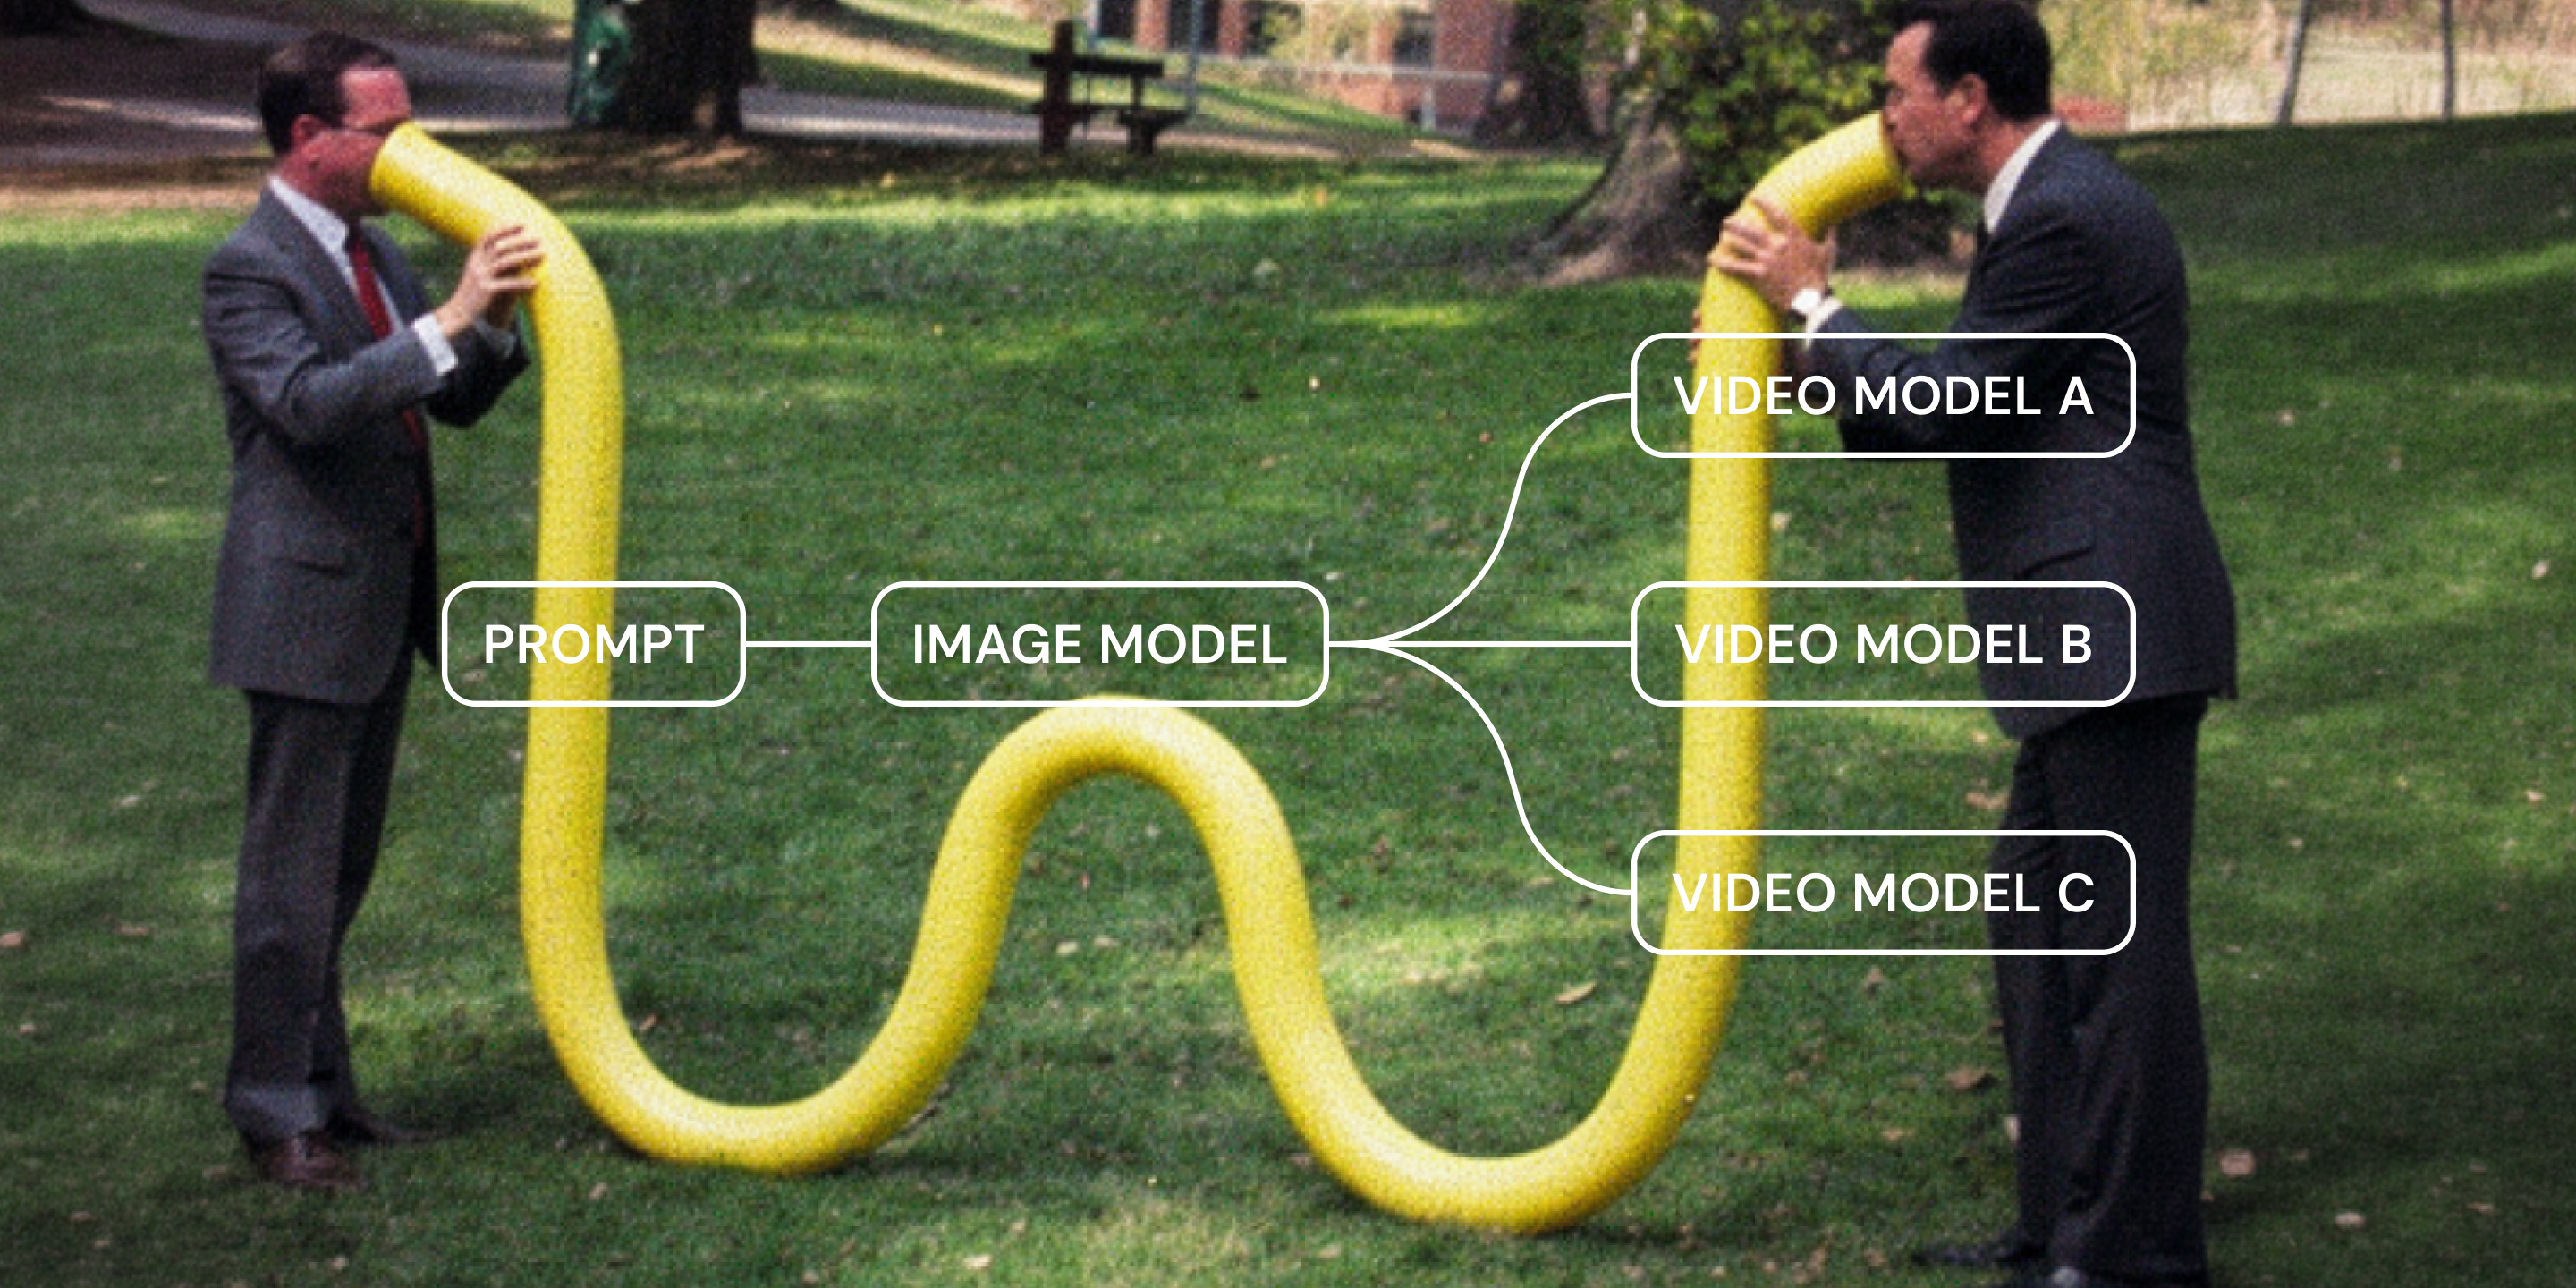
Once you’ve built a solid prompt, you can test it across a few models at once on your Figma Weave canvas and compare results. This is often more valuable than guessing at a new version of the prompt one model at a time.
Pro tip: Keep the prompt identical across every model you test. If you change the wording and the model at the same time, you can’t tell which one made the difference.
Test one prompt across multiple video model nodes and compare the results.
Here’s the same five-step structure applied to common use cases, each one built for a different kind of creative team.
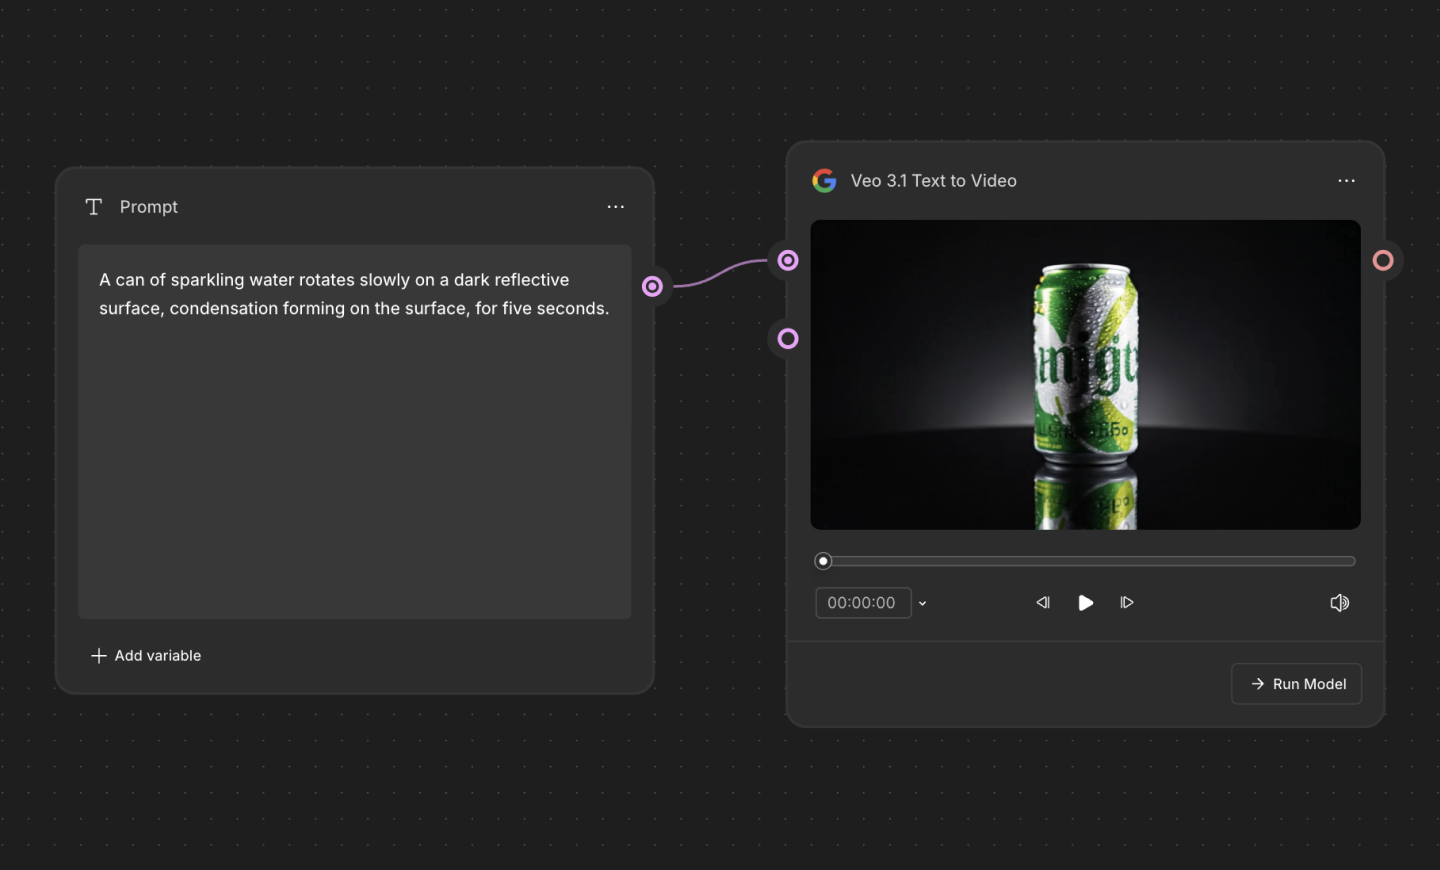
Prompt: “A can of sparkling water rotates slowly on a dark reflective surface, condensation forming on the surface, for five seconds.”
A product demo’s one job is to make the product look like something you’d want to buy. Every detail in the prompt should build toward that. The “condensation forming” and the reflective surface both add a sense of freshness that’s ideal for a sparkling water brand. Concrete details work better than asking the model to interpret a vague mood like “refreshing” and apply it to the whole scene.
Keeping the prompt to one motion, the can rotating, serves the same goal. A demo needs the viewer’s full attention on the product, and a single continuous rotation shows it clearly from every angle without a second action pulling focus away.
Prompt: “A person holds a portable neck fan against their neck, glancing directly at the lens, natural light, vertical format, five seconds.”
Social content works best when it doesn’t look like an ad, and this prompt is built for that. The direct-to-camera angle and handheld framing mimic user-generated content (UGC) viewers already stop scrolling for, like an “as seen on TikTok” gadget demo. AI-generated UGC works the same way. The goal is a clip that feels authentic, not one that looks like AI made it.
Naming the format matters just as much. Most models default to a horizontal frame unless told otherwise. To post the clip in a social feed, you’d have to crop part of it out.
Prompt: “A flat icon of a folder opens, papers sliding out in one continuous motion, clean vector style, white background, three seconds.”
Explainer clips are about making an abstract process easy to follow. Without a named style, a model defaults to whatever look it most commonly sees in its training data, which is usually photorealistic. An explainer has no use for that. “Clean vector style” cuts the guesswork and keeps the render flat and iconographic, the way most internal and product-explainer content looks.
A white background is a practical choice for an explainer. It drops cleanly into a slide deck, a product page, or a voiceover-led explainer.
Prompt: “A cityscape shifts from a bright, colorful daytime style to a moody, high-contrast nighttime style, same skyline, five seconds.”
A concept or pitch video sells a direction, so this prompt is designed to show contrast rather than a single polished result. Naming two distinct styles applied to the same subject gives you something concrete to react to when deciding which mood fits the brand.
Keeping the transformation to one clear before-and-after also matters. A stakeholder reviewing options needs to quickly compare two directions. A clip with one clean split is easier to follow than a clip crowded with multiple stylistic shifts.
Bring your generated directions into a deck that stakeholders can react to live.
Solid wording gets you a good first draft. To refine your AI video generator prompts, try these tips:
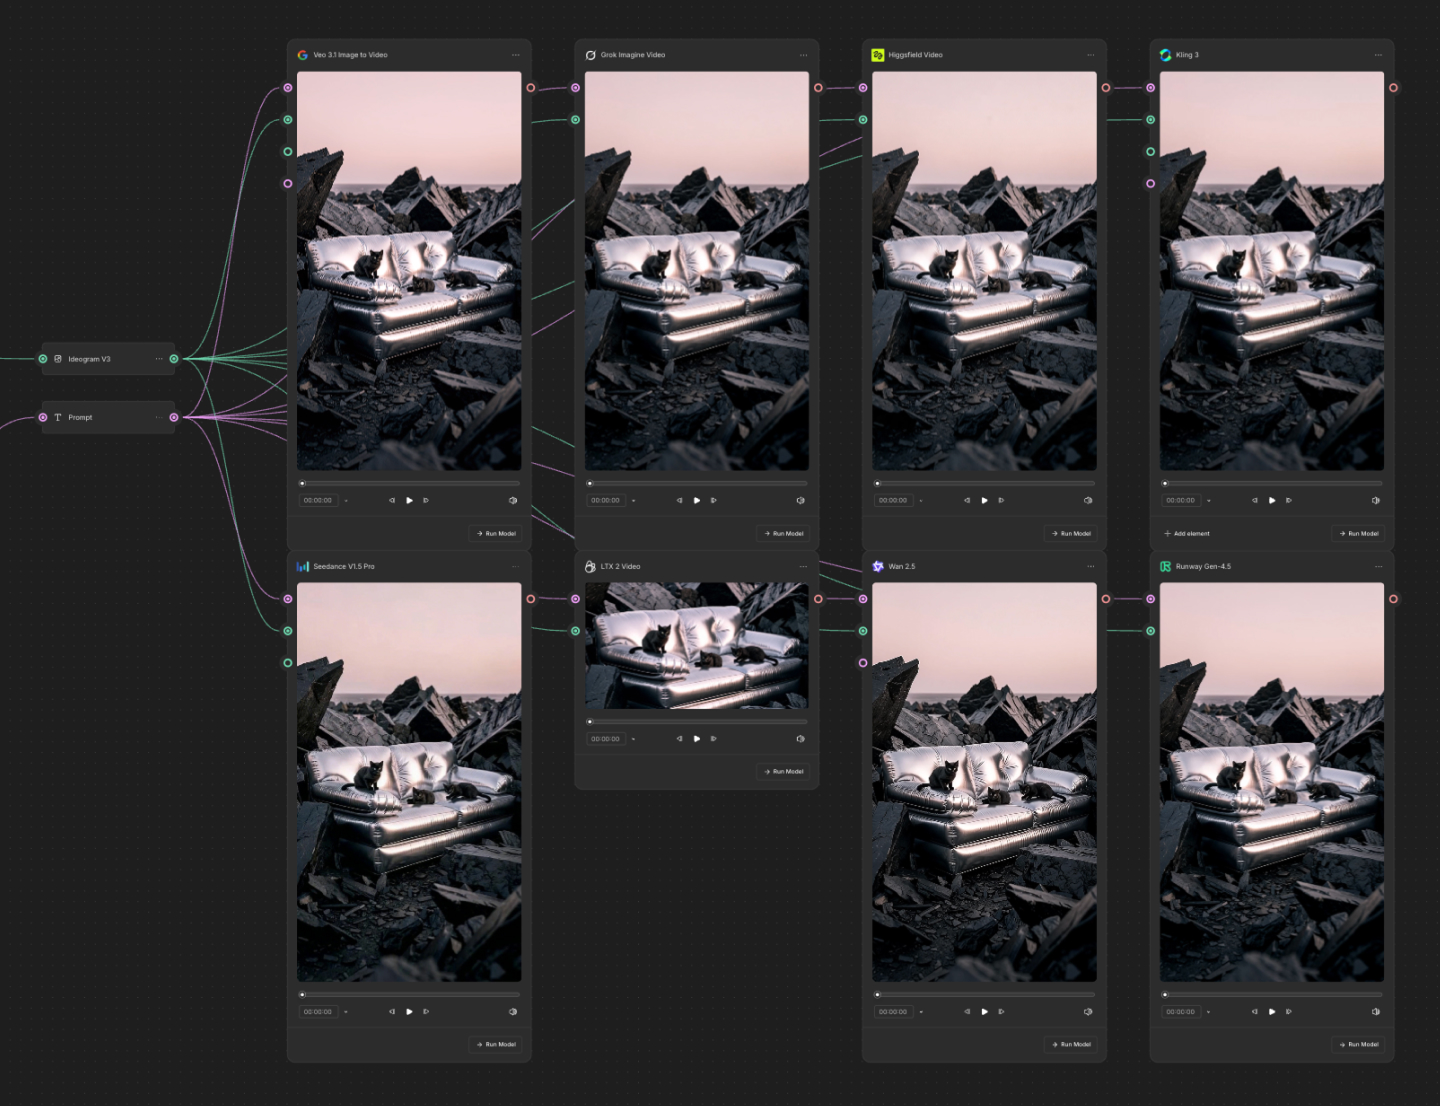
Testing a prompt across models one at a time means rewriting it, or at least re-pasting it, into a different tool every time you switch. On the Figma Weave node-based canvas, you can wire the same prompt into several AI video model nodes at once and compare every result side by side in a single pass.
Start by adding your prompt as a Text node on the canvas, then connect that node to multiple video model nodes. Runway, Kling, and Luma are a few of the major AI models Figma Weave supports. Each model node will read the same prompt and interpret it differently.
Ideation and comparison are the first steps of a good AI creative process. Run all connected nodes together, and the canvas lays out each result next to the others. One model might nail the motion you described, while another might handle the lighting better. A third might miss the mark entirely, all from an identical prompt.
Once you find the model and result that fit, you can reuse your Figma workflow. Save it, and the next time you need a similar clip, swap in a new prompt and run the same comparison instead of rebuilding the setup.
Product try-ons, unboxing clips, “get ready with me” UGC ads, and before-and-after transformation shots are some of the most common prompt types in social and marketing content at the moment. Style-transfer prompts, like turning a single still image into several visual moods, are also popular for pitch and concept work.
It depends on the model and the prompt. Simple, single-action clips can look convincing, but faces, hands, and physics-heavy motion still trip up many models. Testing the same prompt across a few models is often the fastest way to find one that produces a realistic shot.
No. Some models read plain, conversational sentences best. Others respond better to a shorter, tag-like structure with commas separating each detail. That’s why testing the same prompt across multiple models matters more than memorizing a single model’s syntax.
Long enough to name the subject, action, and setting clearly in a few sentences. Padding a prompt with extra description beyond that tends to add noise, since most models generate only seconds of footage to begin with.
Writing a strong AI video prompt is one step in the process. Testing is another, since each model can read the same prompt differently. When you’re ready to build testing into your everyday workflow, try Figma Weave and see what your prompts look like across different models.
Here’s how to get started:
Figma Weave brings your favorite AI video models into one canvas, so you can compare outputs side by side.
Get better output from your AI design prompts. Learn practical tips, examples, and mistakes to avoid, plus how Figma helps keep results consistent.

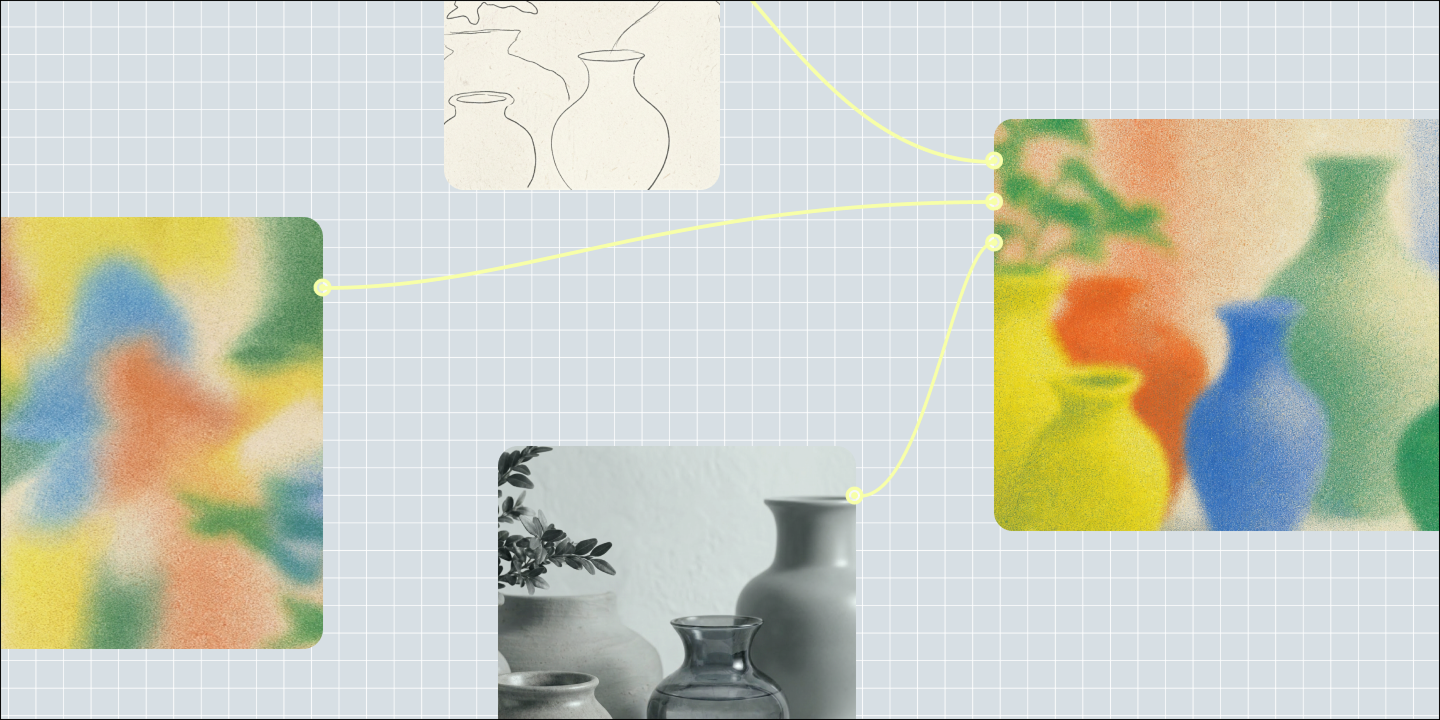
Learn how generative AI is changing creative design workflows, and how teams are putting it to work with Figma Weave to generate on-brand assets at scale.


Learn what visual prompt engineering means, how it differs from text-only prompting, and how to write a prompt that gets AI tools closer to your intended design.

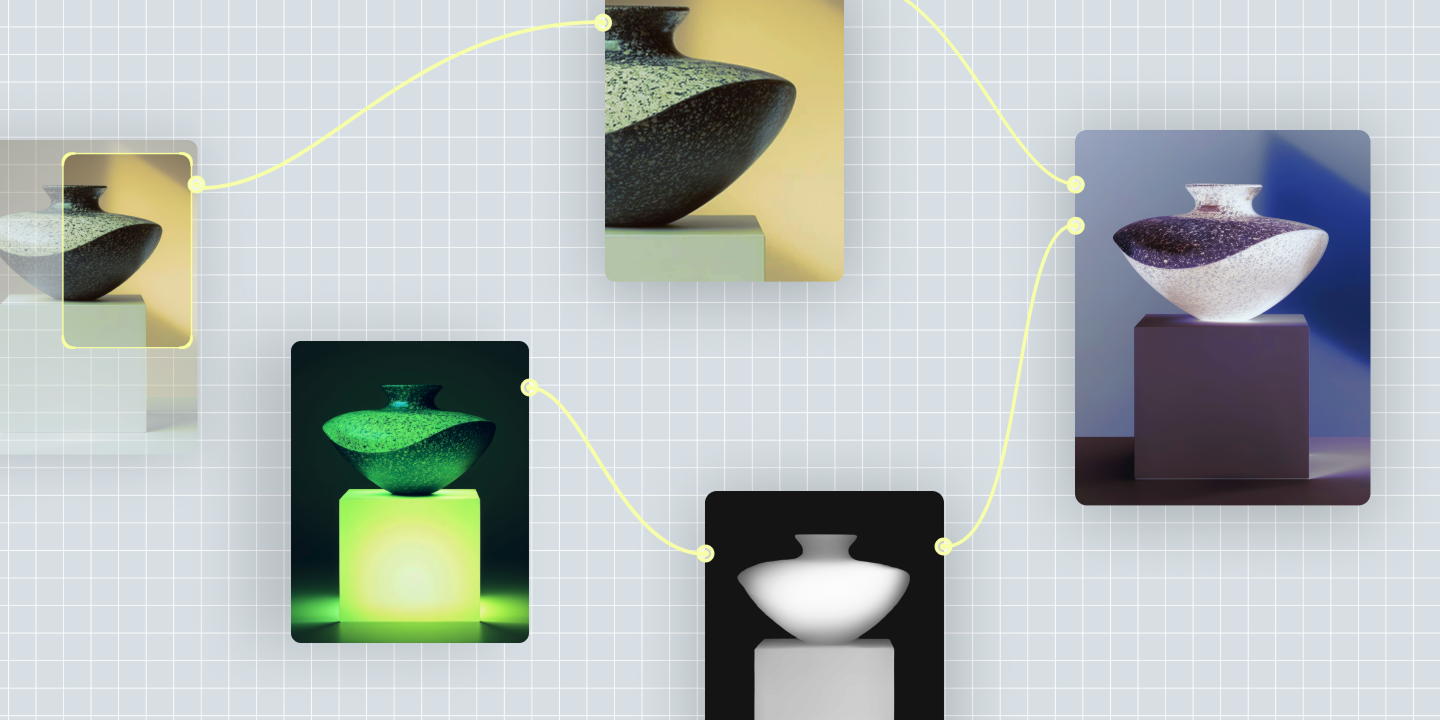
From image generators to node-based workflow platforms, here are 7 of the best AI tools for graphic design, and how each fits a real production process.

Curious how AI in design is changing the way teams work? See how tools like Figma make it easier to bring ideas to life with real-world examples.

Find some of the best AI design tools for 2026. Compare tool capabilities and benefits to streamline your design process and boost your creativity.
Build faster with Figma Weave