Photo to illustration AI

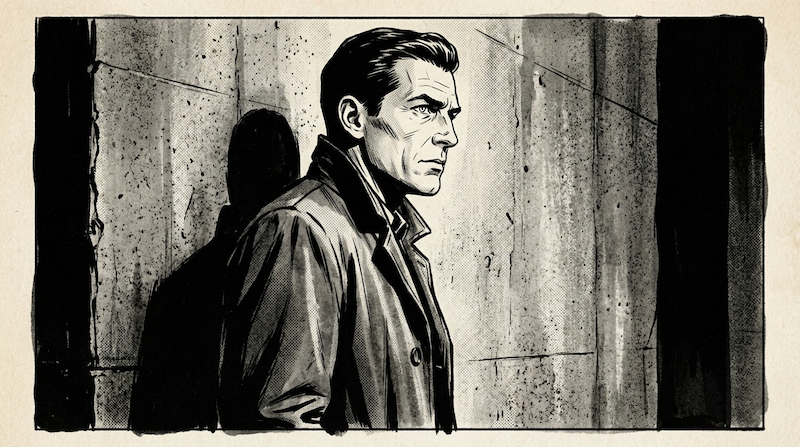
Turn a photo into an illustration by choosing from a variety of models and styles.

Shape your photo into any illustration style

Every photo-to-illustration style needs a different model, and testing them one at a time means juggling separate tools. Figma Weave puts them in one workspace so you can compare results and refine the one that fits.

  • Node-based workflows that keep you in control

    Instead of a single black-box prompt, Figma Weave workflows are built from nodes you can see and adjust. Swap the reference photo, tweak how strongly the style transfers, or add another editing step. Then trace exactly what changed and why.

  • Professional editing built into the generation pipeline

    Generating the illustration is only half the job. Figma Weave’s editing tools (like crop, mask, upscale, relight, and inpaint) sit in the same workflow as the AI models. Fix lighting or extend the canvas without opening a separate editor.

  • Every AI model, one canvas

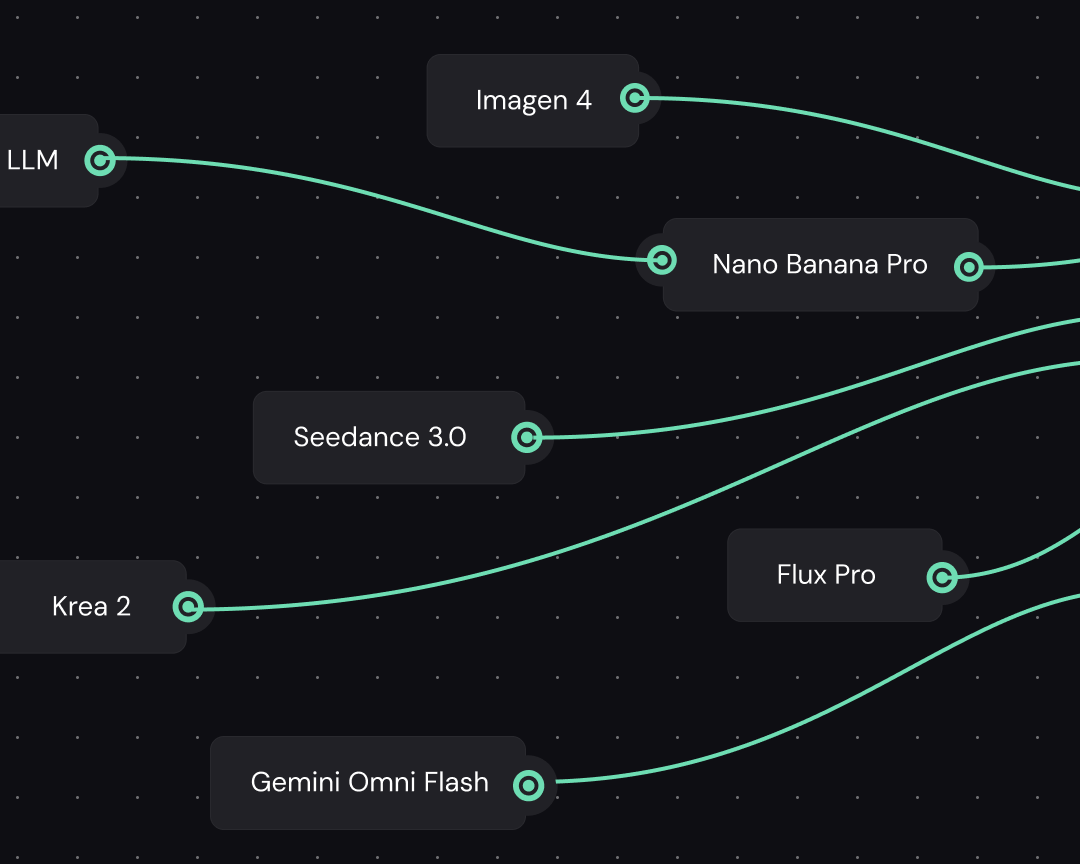
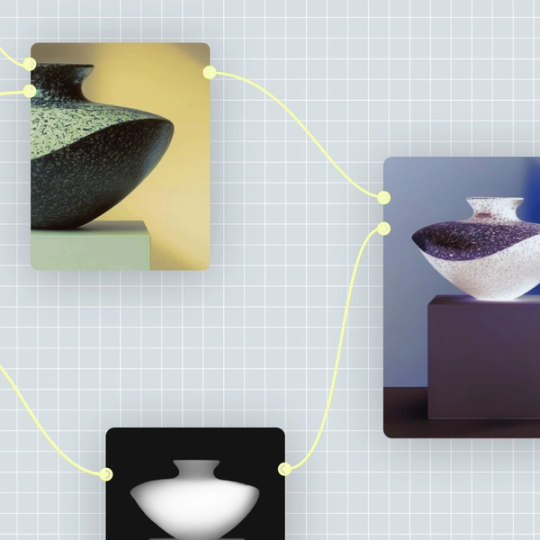
    Different image-to-illustration styles come from different models. Figma Weave brings image generators like Flux, Gemini, and Recraft V4 into a single canvas. Send the same photo to several models, compare the results side by side, and pick the interpretation that fits.

  • Build once. Scale across any volume.

    Once a workflow nails the illustration style you want, save it as a reusable tool. Run new photos through the same style and steps without rebuilding anything. Resize the results for whatever aspect ratios you need next.

How to turn a photo into an illustration with Figma Weave

Open a Figma Weave canvas and pick an AI photo-to-illustration model to start with. Google, OpenAI, Kling, ByteDance, Black Forest Labs, Runway, and Luma each render illustration styles differently.

Add your source photo to the workflow, then describe the illustration style you want. You can also run a reference image through an Image describer node to turn its look into an editable style description prompt.

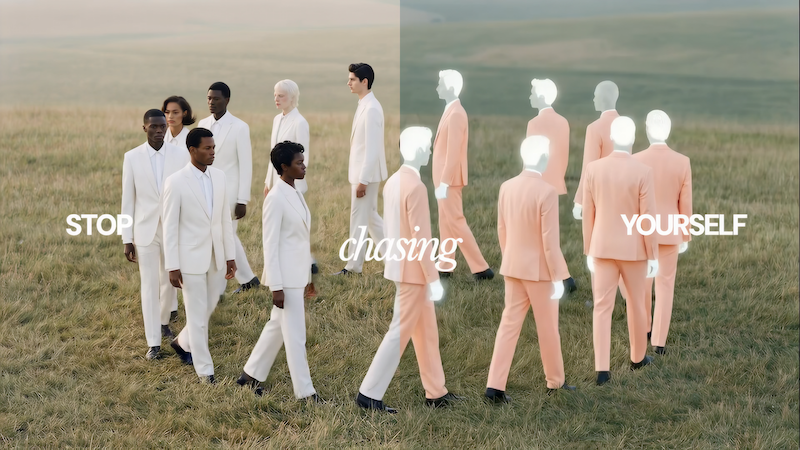
Run the same photo and style description through multiple models at once. Lay the outputs side by side, so you can judge which interpretation actually reads as the illustration you pictured.

Drop in editing nodes to clean up the result. Crop the composition, mask out a background, adjust lighting, or upscale the resolution, all inside the same workflow you already built.

Once the illustration looks right, export directly from Figma Weave. Save the workflow as a reusable tool so the next photo automatically runs through the same style and editing steps.

Built by our community

See how the Figma Community is using Figma Weave to create AI-generated images, video, and 3D.

FAQ

Yes, you can set a style through a text description or by running a reference image through an Image describer node, which turns its visual qualities into an editable style prompt. That description can then be applied to any photo in the workflow.

You don’t need prior design experience to generate a first illustration in Figma Weave. Building a full node-based workflow does involve more choices than a single-click tool, but a finished workflow can be saved as a simplified tool that anyone on the team can run.

A single AI tool can convert a photo into an illustration well enough on its own, but it locks you into whichever model that tool runs on. Figma Weave connects multiple model providers, editing tools, and workflow logic in one canvas, so you can compare illustration styles across models and refine the output before calling it finished.

Figma Weave’s Export node exports files in PNG and JPG. On the input side, the Import node accepts JPEG, PNG, HEIC, and WEBP.

Yes, that’s one of the advantages of building this as a Figma Weave workflow rather than a single prompt. Once a style is dialed in, the same workflow can run against a new batch of photos, applying the same illustration style and editing steps to each one.

Become an agent expert

A “Spring Arrivals” campaign design shown in Figma Design beside its connected Figma node in Weave, with options to update the Figma design or review an update.A “Spring Arrivals” campaign design shown in Figma Design beside its connected Figma node in Weave, with options to update the Figma design or review an update.

The TL;DR on Figma Weave: Make your creative process repeatable

Figma Weave brings AI generation and editing tools together into connected, reusable workflows, giving you a process your team can shape, refine, and repeat. Here’s what it unlocks for creative teams and how to get the most out of it.

Learn more

Workflow lab: From design system to campaign in Figma Weave

Design systems can power more than just designs. This workflow shows you how to turn raw materials into brand campaign collateral using the Gen Effect and Figma nodes.

Learn more
Colorful abstract illustration of interlocking geometric shapes, including loops, arrows, a starburst, and grid patterns, suggesting connected tools and workflows.Colorful abstract illustration of interlocking geometric shapes, including loops, arrows, a starburst, and grid patterns, suggesting connected tools and workflows.

Try these 5 Weave tools—and share your own

Community publishing is now live for Weave tools. Here are a few tools that stand out, from turning a moodboard into a realistic room mockup to previewing your next nail set.

Learn more
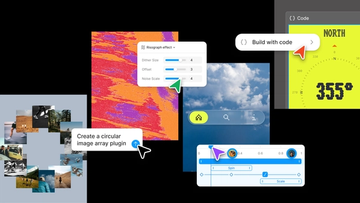
Collage-style product graphic showcasing AI-assisted design and development workflows, with plugin creation prompts, visual effect controls, code generation tools, and interactive UI components arranged across a creative workspace.Collage-style product graphic showcasing AI-assisted design and development workflows, with plugin creation prompts, visual effect controls, code generation tools, and interactive UI components arranged across a creative workspace.

Config 2026: New materials, new tools and a more expressive canvas

Push past what you thought was possible with code layers, Figma Motion, shaders, generative plugins and Weave tools, all on the canvas.

Learn more
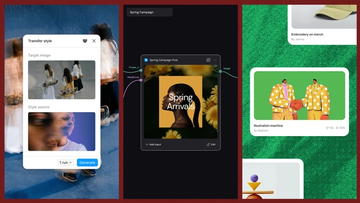
Three-panel product graphic demonstrating AI-powered style transfer. On the left, a "Transfer style" interface displays a target image of people carrying skateboards and a blurred portrait used as the style source. In the center, a workflow canvas labeled "Spring Campaign" shows a connected post-generation node producing a floral-themed social media graphic titled "Spring Arrivals." On the right, a gallery-style layout displays generated creative assets, including an illustrated handshake artwork and merchandise design cards, showing how transferred styles can be applied across a campaign.Three-panel product graphic demonstrating AI-powered style transfer. On the left, a "Transfer style" interface displays a target image of people carrying skateboards and a blurred portrait used as the style source. In the center, a workflow canvas labeled "Spring Campaign" shows a connected post-generation node producing a floral-themed social media graphic titled "Spring Arrivals." On the right, a gallery-style layout displays generated creative assets, including an illustrated handshake artwork and merchandise design cards, showing how transferred styles can be applied across a campaign.

Connecting Figma and Weave

Today, we’re announcing new ways your Weave creative workflows can live alongside your Figma frames.

Learn more

Direct every frame with Runway Aleph 2.0, now in Figma Weave

Aleph 2.0 brings frame-level creative direction to the Figma Weave canvas.

Learn more
Powered by Fruition